
I heard about onigiri quite a lot over the past few years but never considered trying it until I did and immediately saw its great potential. I love sushi, but it is not easy to make and quite tedious. If you can get over the rice preparation, all you need for onigiri is to form a ball with your hands, and it is ready. No raw fish is involved; you just need a can of tuna or some leftovers. Of course, onigiri can be much more complicated than this, with traditional Japanese fillings inside. But all I am aiming for is to have this delicious gluten-free cold sandwich easily reproducible on a random weeknight.
My go-to filling is canned tuna! Chicken is great too, but the options are infinite.
 Onigiri
Cooking time: 16 min for rice
Preparation time: 15-20 min
Difficulty: easy
Ingredients
for the rice – I would say according to the instructions on your package, but here is how I do mine:
- 1 cup of rice very well washed, in 5-6 water
- 1.5 cups of water
- 1 tsp of sugar
- 1 tsp of vinegar
- 1 tsps of soy sauce
- a pinch more of salt
- MSG (optional)
Tuna filling:
- 1 can of tuna in water
- 2 tbsp of mayo
- 1 tsp of sriracha or any other spicy sauce (optional)
- 2 chopped scallions or chives
- ground black pepper
- edemame beans (optional)
Chicken filling:
- shredded chicken leftovers
- 2-3 tbsp of kimchi
- 1 tbsp of mayo
- ground black pepper
Extras:
- nori
- black sesame seeds (optional)
Directions
- Cook the rice according to the instructions on your package. It is best with a rice cooker, but if you do not have one, it is doable in a pan too. The tricks are: have the rice well washed, use a 1.5:1 ratio of water to rice, after the boiling time is over don’t open the lid for 10 min at least, place a towel below the lid after 10 min for at least 15 min to absorb remaining moisture, season the rice only after it has cooled slightly.
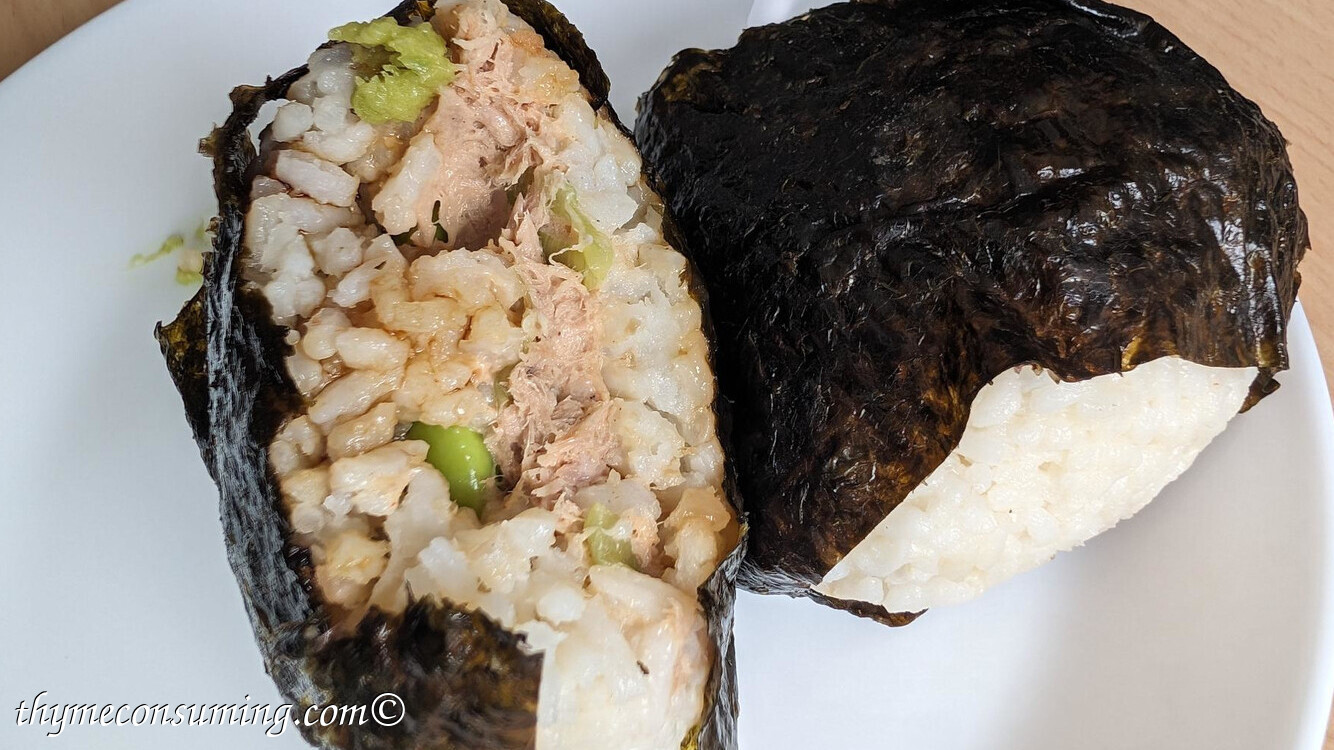
- While your rice is cooling, prepare your preferred filling: in the pictures below I have my quick tuna filling and my kimchi-chicken filling with leftovers from chicken that I buy roasted:


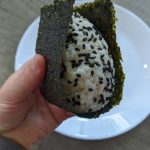
- Tricks for assembling the onigiri: do it while the rice is still warm and have your hands slightly wet. Here is how I do it in pictures:


- Last step is to let it rest in the fridge to combine well. When it is ready to serve, cut a thin slice of nori and enjoy with it by itself or with extra soy sauce and wasabi.


