
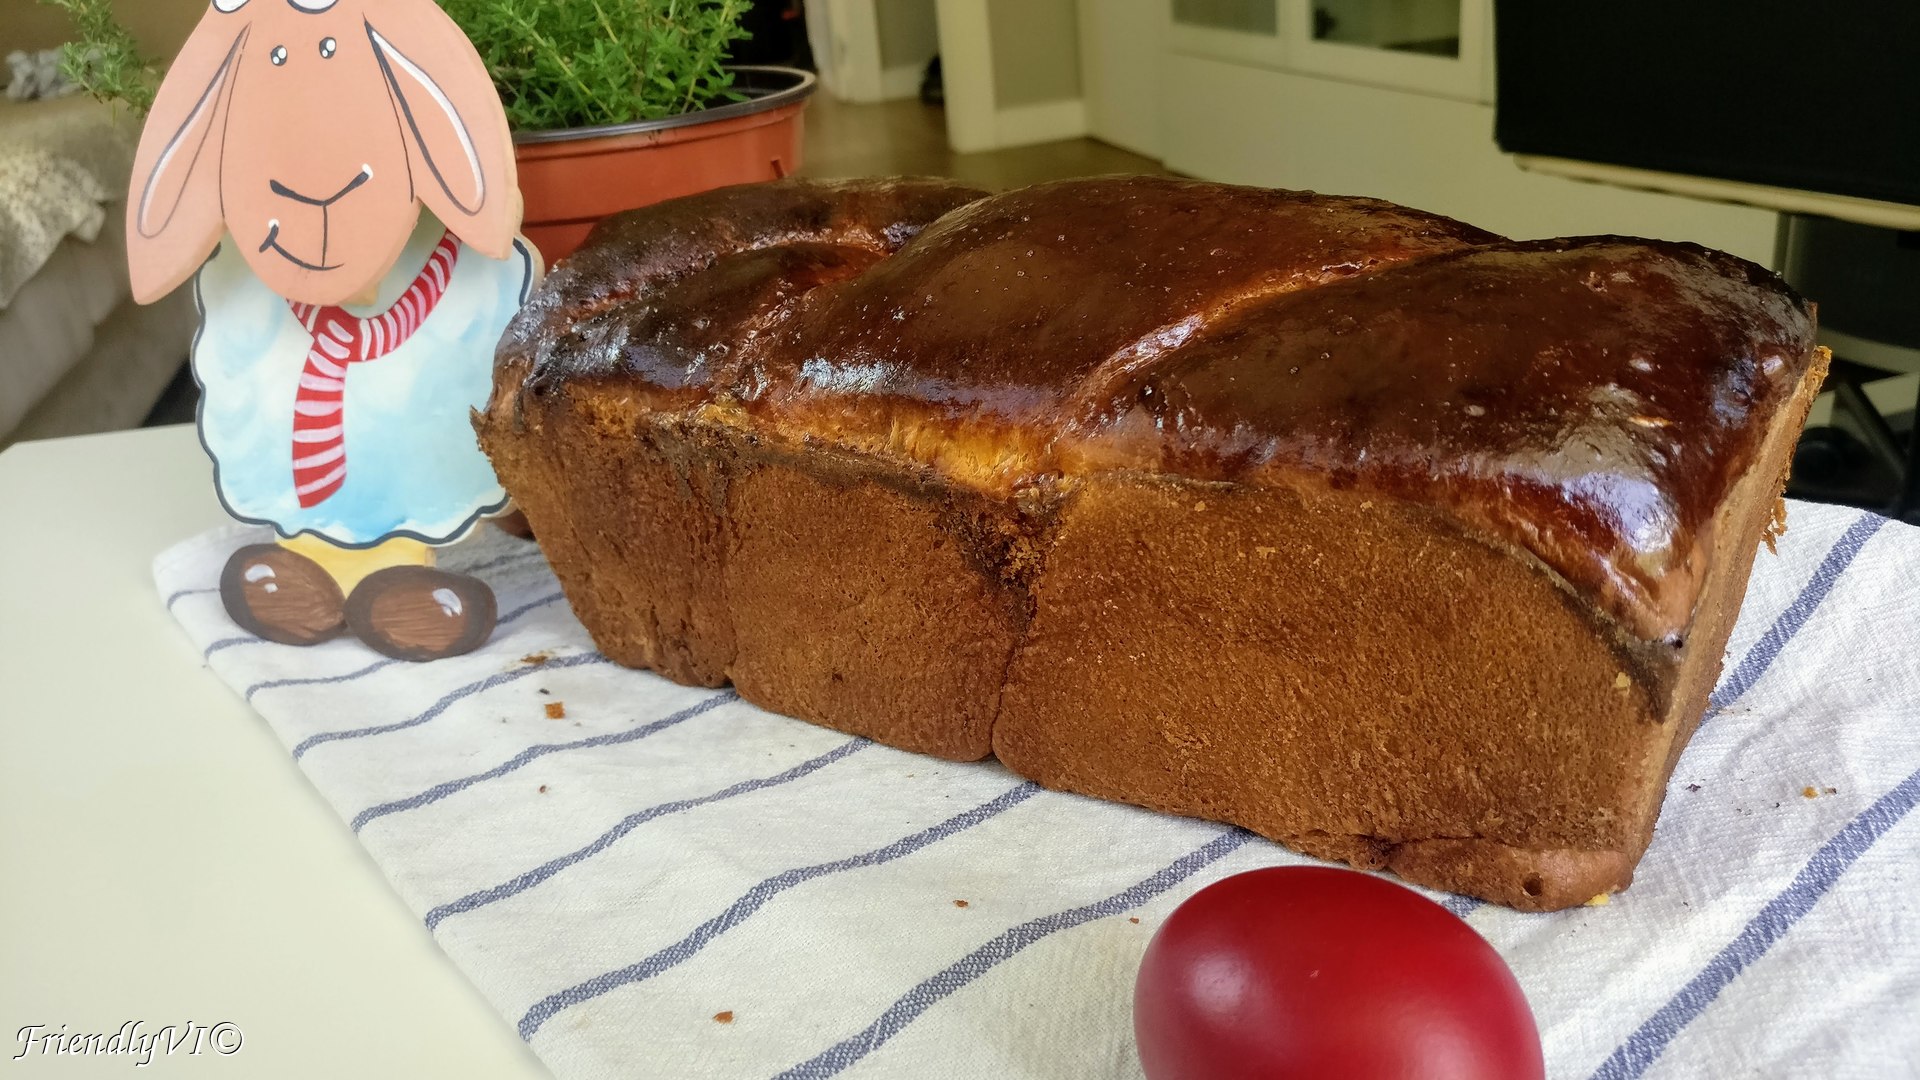
This Romanian dessert is so incredibly addictive! Cozonac is the “go to” dessert for any festive days and the best cooks for it remain still the Romanian grandmas. But even if I am not at a grandma level, I still make it from time to time. It is difficult, heavy, not particularly healthy and you can’t stop eating it, so I totally recommend it. Here is the recipe I use for it:
 Cozonac or Romanian sweet bread
Preparation of the dough: 25 min
Rising time: 1.5 hours
Assembly: 15 min
Baking time: 40 min
Baking temperature (heating up and down, no ventilation): 180 C
Total time: 3 hours
Difficulty: difficult
Ingredients for 2 rectangular forms of 26 cm
- 670 g of bread flour
- 12g of salt
- 130 g of sugar (not more)
- 330 g of milk (3.5 % fat)
- 60 g of fresh yeast
- 70 g of yolks (approx. 2)
- one extra egg for brushing
- grated peel from one lemon (or orange)
- 1.5 tsp of your favorite essence (vanilla, rum…)
- 50 g of oil for kneading
- 1 tsp of butter for the form
- 470 g of filling (chocolate cream, nuts, raisins, rum, your choice)
Ingredients for a rectangular form of 26 cm
- 335 g of bread flour
- 6 g of salt
- 65 g of sugar (not more)
- 165 g of milk (3.5 % fat)
- 30 g of fresh yeast
- 35 g of yolks (approx. 2)
- one extra egg for brushing
- grated peel from one lemon (or orange)
- 1 tsp of your favorite essence (vanilla, rum…)
- 30 g of oil for kneading
- 1 tsp of butter for the form
- 235 g of filling (chocolate, nuts, raisins, rum, your choice)
Chocolate cream recipe
- 150 g of milk
- 60 g of sugar
- 300 g of chocolate with minimum 45% cocoa
Directions
- Leave at room temperature the night before: eggs, fresh yeast and flour. This will rush the rising of the dough.
- It is also good to prepare your chocolate cream the night before if you don’t buy it ready made: simply bring the milk to a boil, add the sugar to melt. Then add the chocolate, stop the heating. Let it melt and pour it in to a glass container. Close it with a lid and keep it at room temperature until you need to use it:


- Secondly, the flour. This is the most important ingredient of the cozonac and has to be dry and fresh and high in gluten. If you are in Romania you can use the 000 flour. In Spain I use the ‘Fuerza’ one which is higher in protein.
- Mix the flour with the sugar and salt. Might seem a lot of salt, but it is important for helping the gluten develop.

- Have the milk lukewarm and add in it the essence, grated lemon and yeast and mix until the yeast is dissolved.
- Add over the milk the beaten eggs.
- Pour the liquid over the flour mixture and combine them together. It will be quite sticky:

- Start adding a bit of oil on your hands and table (or the pot in which you are mixing) and knead the dough.
- Knead vigorously and add a bit more oil as soon as it gets sticky again.
- After 15-20 min of kneading, your dough should look smooth and fairly elastic. It should rest maximum 10 min before starting to assemble it.
")

- Immediately start preparing the form: spread butter all over and cover it with flour.

- Prepare your filling too: blend the nuts, make sure the chocolate is spreadable, weigh them to make sure they are not heavier than 235 g.


- With a bit of oil, spread half of the dough in a rectangular shape.

- Add your filling, in my case chocolate cream, walnuts and raisins.

- Carefully roll it in a tube shape, making sure the ends are well “glued” together so that the filling won’t come out.
- Do the same for the second half.
- Once you have the two tubes, start braiding them like in the picture:

- Carefully place the assembled dough in the form.

- Cover it in a plastic bag, spray some water in the bag and let it rise in a warm place for 1.5 hours or until it doubles in size.

- Brush it with one egg before placing it in the oven.
- Bake it in the preheated oven at 180 C for 40-45 min or until you try it with a toothpick and it comes out dry.
- Let it rest for 20 min until taking it out of the form.
- You should ideally wait 30 more min before you cut it, so that it cuts nicely. But if you can’t wait, just break it with your hands and enjoy this amazing dessert. Warm is really the best!


